background

Tuesday, September 11, 2012

Need to be CPSIA compliant? Make Your Own Sewing Labels

Sometimes it is tough being a small business owner in a big business world. There are so many things you need to be complaint and linceses you are suppose to have.  It can be over-whelming.  Although I do buy my business labels for my clothing from Mommie Made It because I am horrible sometimes with picking an image and then making it look good and the right size but if you are good at this or have the good software (I don't) then you can use this same idea for that. I make my own wash and care and size labels to be CPSIA complaint.   
 
 
So I got these fabric sheet at Joanns.  June Tailors Sew-in Colorfast Fabric Sheet for Ink Jet Printers . They were $51.99 for 25 but of course I used my 40% off coupon and I just saw them on Amazon for $31.99 plus shipping 
 
So I used Miscrosoft Word to make my labels.  I first put my page setup to landscape and got rid of the header and footers and side margins.  Then it asks to fix and I say okay to have the minimum margins.  Then I go to format and columns and put in the number of columns I want.  For my washing labels I used 8 columns (pictured above) and 15 columns for my size labels (pictured below). 

 
I center my text in the columns and then do a lot of copy and pasting instead of rewriting everything over and over.  I usually do one set of words copy and paste until a column is done then copy that column and paste in the consecutive columns until I am finished. 
 I usually print a test on regular paper to check spacing and that it looks right and I have enough space to sew into my garments. I then print on the fabric sheets.

 
Allow to Dry for 10 minutes and then iron on cotton setting without steam for 1-2 minutes to set ink. 

 
I then use my paper cutter to cut out my labels and remove paper backing. I find that whatever they use to allow you to print on the fabric prevents it from fraying as well.   Now I have nice labels for my garments.

 
There are lots of different ways to make your own labels and here is a site with multiple ways: http://craftingagreenworld.com/2009/01/23/5-ways-to-make-your-own-fabric-labels/
 
Goodluck in your sewing adventures!!!
Enjoy,
Barbara

Wednesday, August 29, 2012

Wallhanging Stablizer Organizer

I got the idea from my Sew Beautiful magazine to make a wallhanging stablizer organizer.  The instructions are here http://www.sewbeautifulmag.com/freebies/pdfs/Wallhanger.pdf . 
 
 
Here are all my materials

 
Once I got my backing all together I glue basted my ribbon on each side as the directions stated.

 
Yep this is me measuring out the pieces. 

 
I decided to do a decorative stitch along both sides of the ribbon.  I then followed all the instructions provided to make this:

 
I love having this to hold all my stablizers. It is fast and convient to get to them when they are needed!!!!!!!!
 
Enjoy
Barbara

Friday, July 13, 2012

A Neater Perspective

Do you remember this closet from my In My Corner section?  Well I decided that this was too messy and needed a revamp. Especially with all the new bolts of fabric I have been getting in. Yes I said bolts. I started to sell some of the fabric so I opened a shop on etsy to help me as well as give customers knowledge of the fabrics I have in stock. My fabric store is www.uptomykneesinfabric.etsy.com .
So we pulled out these towers and my husband put together the new shelve from ikea (which was on sale hurray). 

I then used the card board pieces you put in comic book packages (courteousy of my husbands collection and a few more) and wrapped my free standing yardage around all folded. I folded the fabric in thirds while it was folded in the normal half in comes as and then wrapped it instead of the way shown in the above link. And look how neat and organize I look. I also found this blog entry with lots of different ways you can store your fabric http://www.everythingetsy.com/2012/05/lots-of-fabric-storage-ideas-organize-it/ . 

This tower is pure beauty. Everytime I look at it I sigh.  I love how it looks and every piece of fabric is so easy to get to.  Now may I just say if you want to do this at home.  Don't wait until you have over 100 yards to fold. It took me 3 days to fold all that fabric.  Oh and the 100 yards does not include any of those bolts of fabric up there.  I also reorganized my kitchen nook and found too many projects unfinished and patterns not put away.  It took me a total of two weeks to get reorganized and I have only lived here 10 months.  I decided to be much neater and make myself put things away now. It deffinately looks neater. 

Thursday, June 21, 2012

Make Your Own Hooded Towel


These are the perfect towels for your little and not so little ones. My children love the hooded towels after their bath or showers but they don't make them for toddlers/up to 5 year olds. So here's an easy way to make some on your own. (And yes that is my son in a pink towel I wanted the bigger version actually on a bigger kid so just don't tell my husband!) 


So what you need is 1 wash cloth and 1 oversize towel.  Use the small wash clothes for up to age 2 and the hand towels for older ages. I pictured both. The purple one is for the younger age and the pink is for older. 


Cut the wash cloth down keeping the decorative strip if you have one to 8 inches wide. For the older one cut to 10 inches.  If you are making this using a hand towel you can actually make two with one hand towel so if you want you can buy two towels and have a spare.  These are super quick and it actually took longer for the embroidery then to put these together.


So now if you have an embroidery maching or letter writing on your machine you can add an image or saying to the towel as shown above.  You can also totally skipp this step if you want. 


Fold your hood rightsides together and sew a 3/8 seam along raw edge (this is the edge you cut to get to the appropiate width).  I also serged the edge with my serger. If you do not have a serger you can use a zig-zag stitch along the edge and get similar results in this case.

Turn your hood right side out.

Fold your towel in half and mark the middle with a pin.

Aline the center seam of hood with the middle of towel and pin along the edge with right sides together. 

Sew a 3/8 seam attaching hood to towel remember to remove pins as you go so you don't run over them.  I did not serge this time as the edges were both a finished edge of the towel.  I do suggest a zigzag stitch next to seam to reinforce.


And now you are all done.  And have the perfect towel to wrap your little one in. 

Enjoy,
Barbara

Thursday, May 10, 2012

Perfect Baby Shower Packages

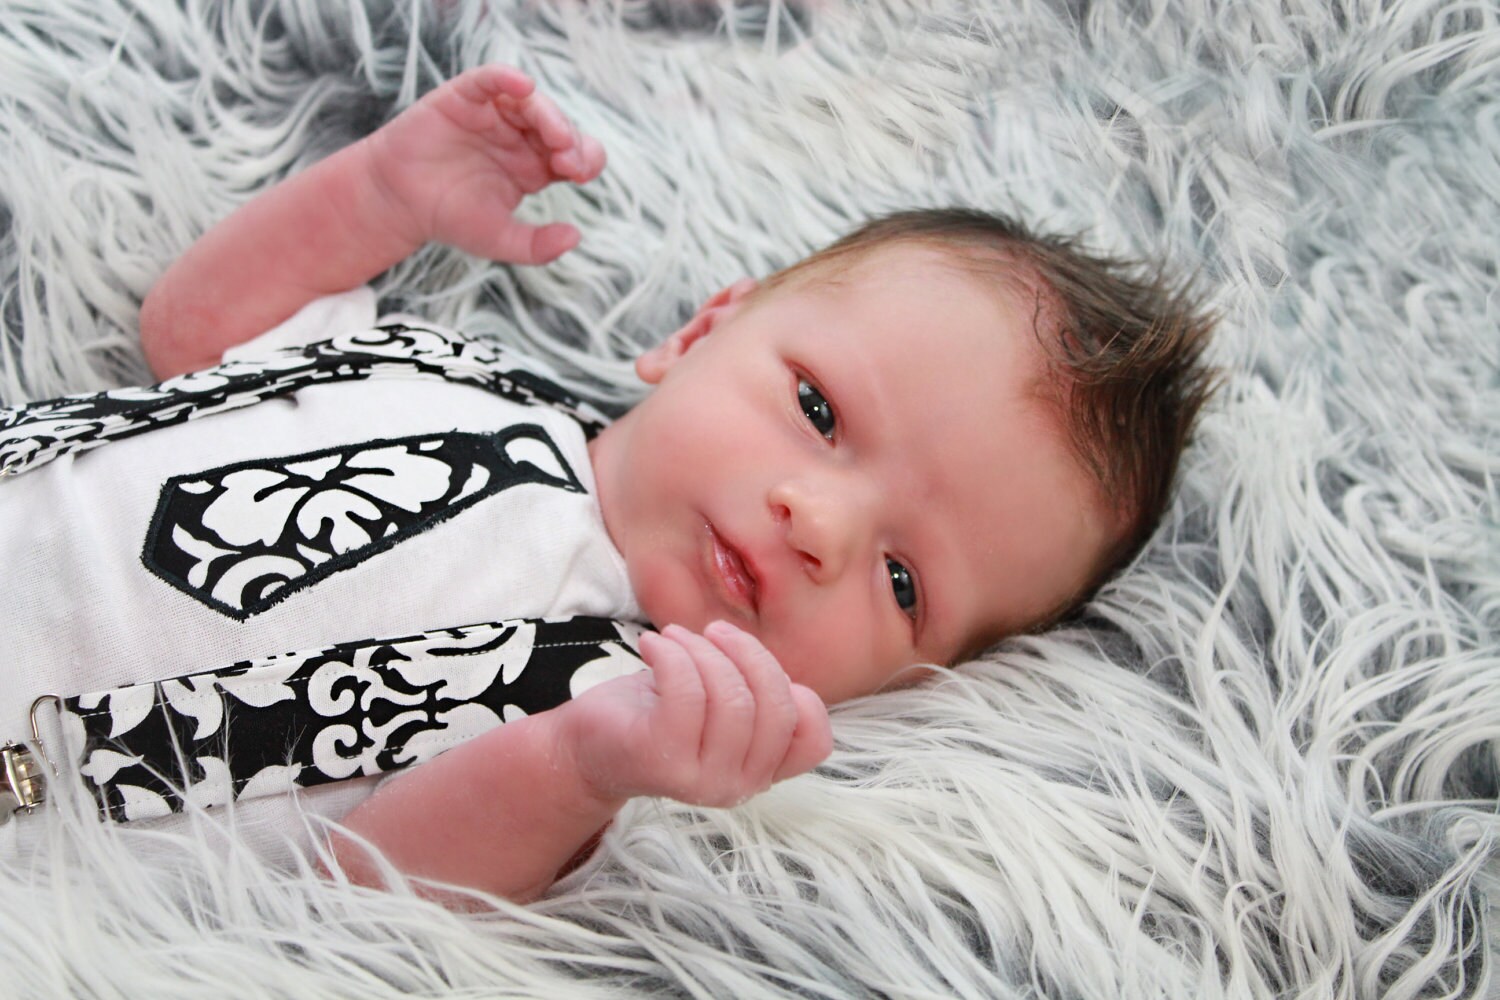
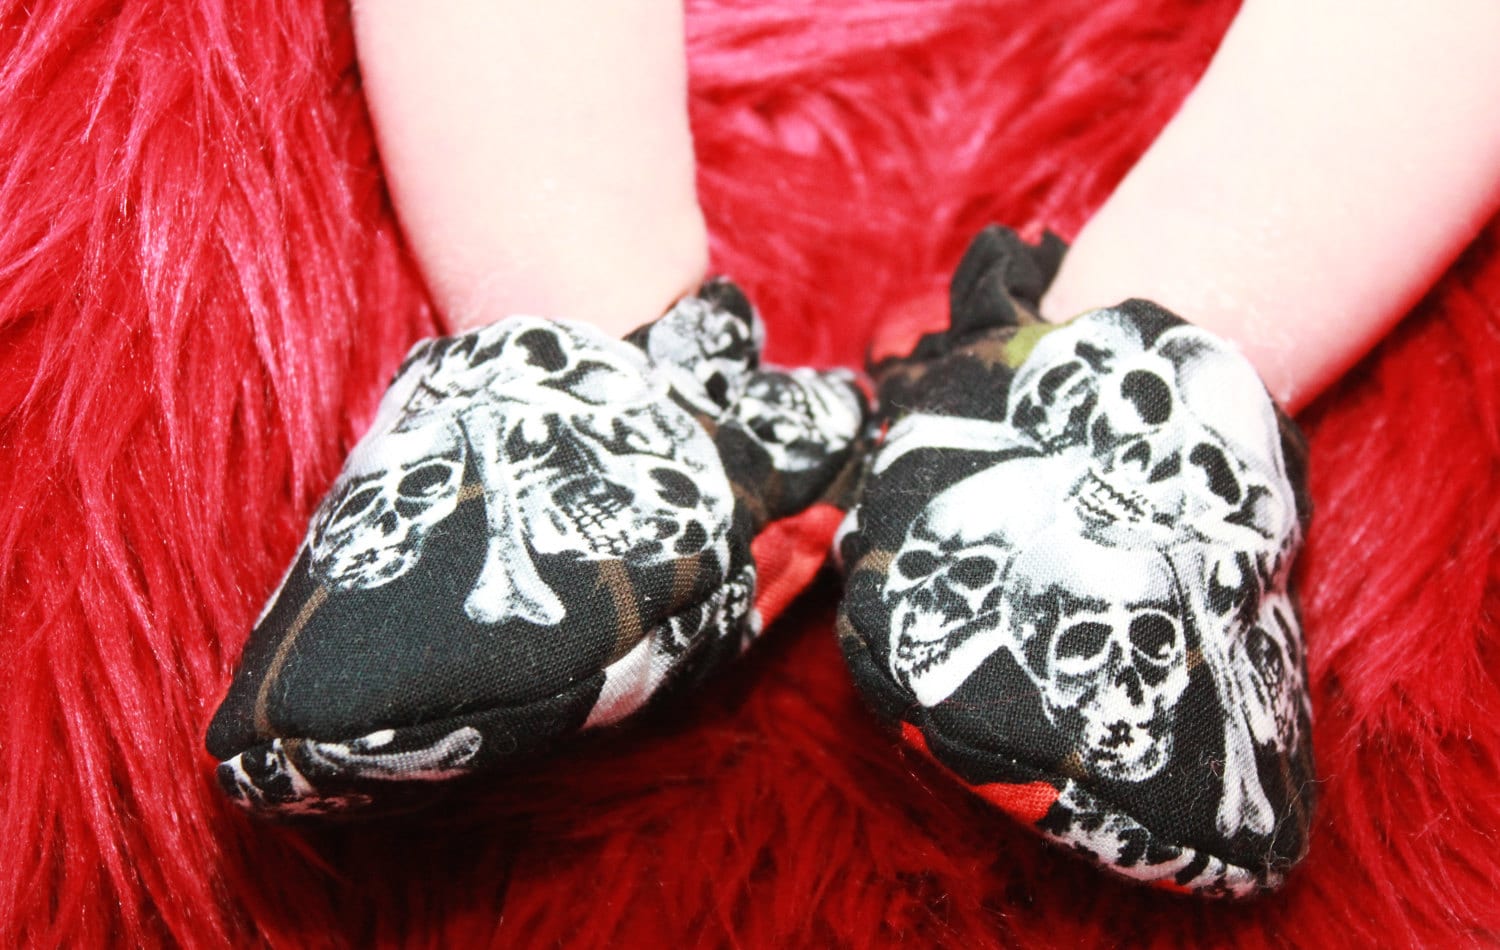
So far I have created two baby packages that include a tie/bowtie onesie, suspenders and matching shoes in my store.


 I plan on making more and I now have tons of tie and bowtie onesies to start posting in my shop that I have made for craft fairs as well. 

All the ties and bowties are machine embroidered with my machine. This is great since I have a machine but does take skill to keep placement perfect.  I got the the tie and bowtie embroidery from different stores online and both have been well used.

Although I must show off some applique ties that I think are just adorable from AC Embroidery

I got the suspender pattern from Little Lizard King . It is easy to follow and perfect  for even the begginer sewer.  It starts at size 3 month and goes to size 10.  A great addition to my store and to make matching brother outfits for my girl and baby products. 

Next came the shoes and I love this reversible pattern by Petit Boo .  She gives full illustrated pictures for each step which makes this pattern also good for beginners.  The hardest part is keeping your seam allowances around curves. 


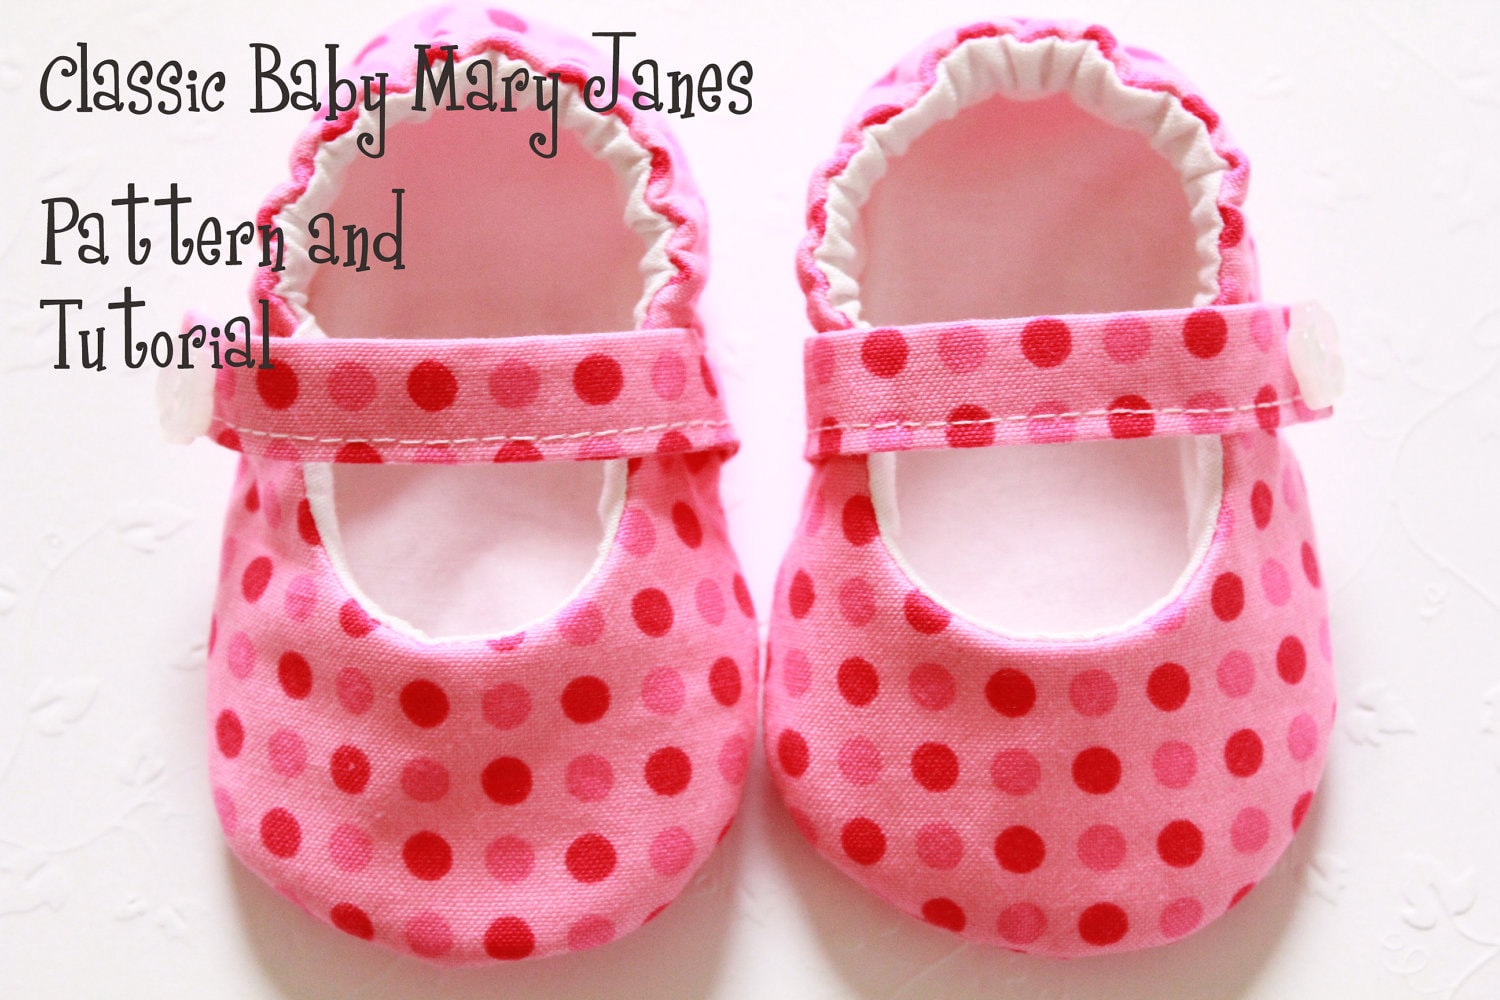
 I also bought this pattern but I haven't made it yet.
Picture from Petit Boo's shop.  http://img3-llalt.etsystatic.com/il_fullxfull.300827451.jpg
I love finding new patterns and making beautiful things people love.  Thanks to these wonderful people who are willing to sell their patterns so I can just do what I truely love...sew.  (I did not recieve anything from any of the above sites to be featured here).
Enjoy,
Barbara